photo color path and multipath service
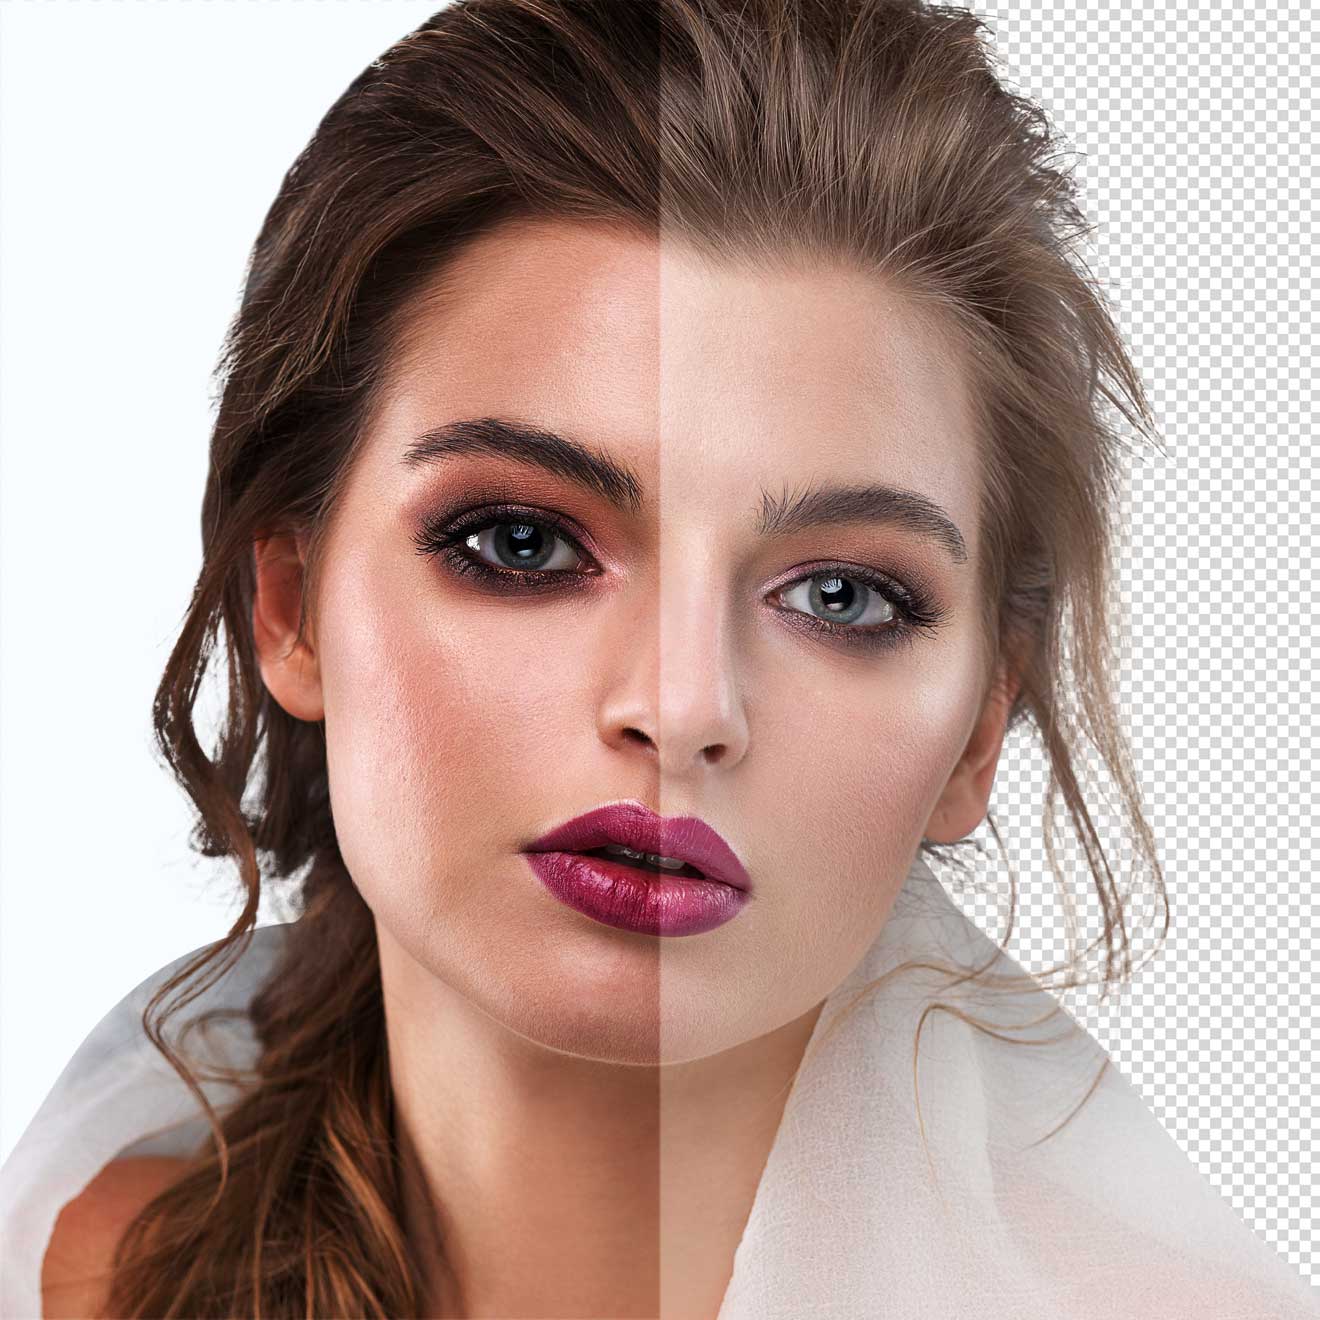
Photo Color Path service is the process of changing the color of an image, video, or any form of digital media.
Several times definite colors of objects in an image like- clothes or accessories have to be altered to different colors, recolored to restore balance, or moderated for color correction.
Many images, especially amateur photographs which do not take pro of the full range of crayons. As an alternative of having the brightest part of the photo be the brightest white & darkest the blackest black.
These images frequently use a dull grey for ‘white’ and a little darker grey for ‘black.’ The result would be a dull, mystifying image that’s messy and hard to read.
Why color grading is The Most Important Part of Your Post Processing Workflow. Photographers often treat color evaluation as belittle aspect of their workflow.
Naturally, the light color is measured on a scale known as color warmth, as well as along a green magenta alliance perpendicular to the color temperature axis.
…I truly love the top-notch friendly and very professional Background Removal service I’ve received from Weclipimage. ! Christina
Colorists in the film industry have known for years powerful color evaluation is critical to great filmmaking.
Color correction is a process used in stage lighting, photography, television, cinematography, and other disciplines that uses color gels or filters to modify the overall color of the light.
Color correction refers to adjusting white & black levels, contrast, exposure, and white balance to give you an image with exact, unprocessed apparent colors.
The point of color correction is to guarantee that ensuing color adjustments have more accuracy and don’t yield accidental results.
Color correction stair comes next after photo selecting which you do working with any photography way. The full budding of the images can be reached during tidy color correction.
But if you are a claimed photographer, so you would be busy every day editing thousands of photos and adjusting their color palette, then we the
Weclipimage completely understands your problem and offers online image editing support that will save you valuable time and attempt and guarantee.
And you won’t sink under hours of editing. Without a color correction set, a scene may have a mix of various colors.
Applying color correction gels in front of light font can alter the color of the diverse light sources to match.


Now, diverse lighting can produce unwanted art when displayed in photographs. Then we adjust exposure, color tones, vitality, saturation, shadows, highlights, contrast & sharpness to help you get the most out of your images.
This application is useful, particularly where motivated lighting is the goal. Color gels may also be used to tint lights for artistic effect.
Retouch
Weclipimage already has done Image Resizing service for you corresponding dimensions in pixels. Simply find the size you want your photo print to be and adjust the pixels accordingly with us.
path
Clipping path, Background removal, Knock-outs, cut-outs, etching, silhouettes, etc. However you say it, we can do it perfectly. We use 100% handmade Clipping Paths for good shape and quality.
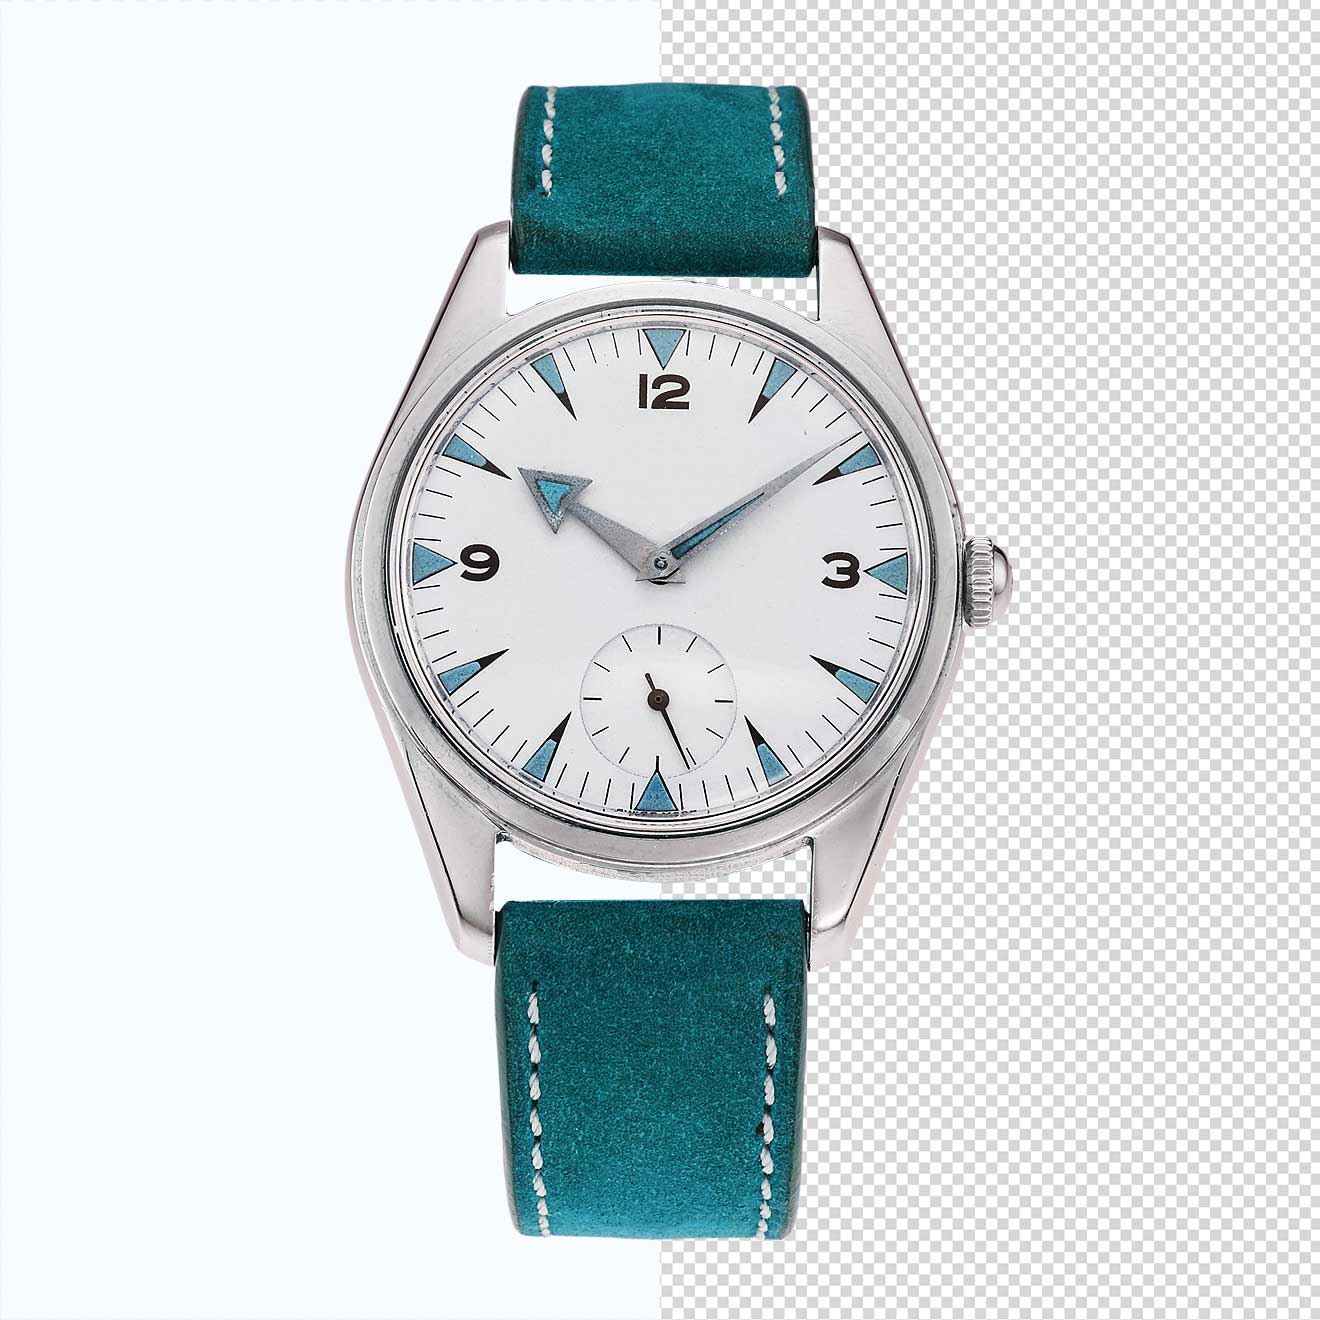
PHOTO COLOR PATH AND MULTIPATH SERVICE is the same technic to separate an object from an image/photo. When we need to adjust an object from many products or objects we need to select single on only. And, in this way, we can only change one object by using this service.
Most photographers are needs this service for their products to make them more natural & perfect. Mainly a jewelry photo can make perfect by Photo color path service or Multi clipping path service.
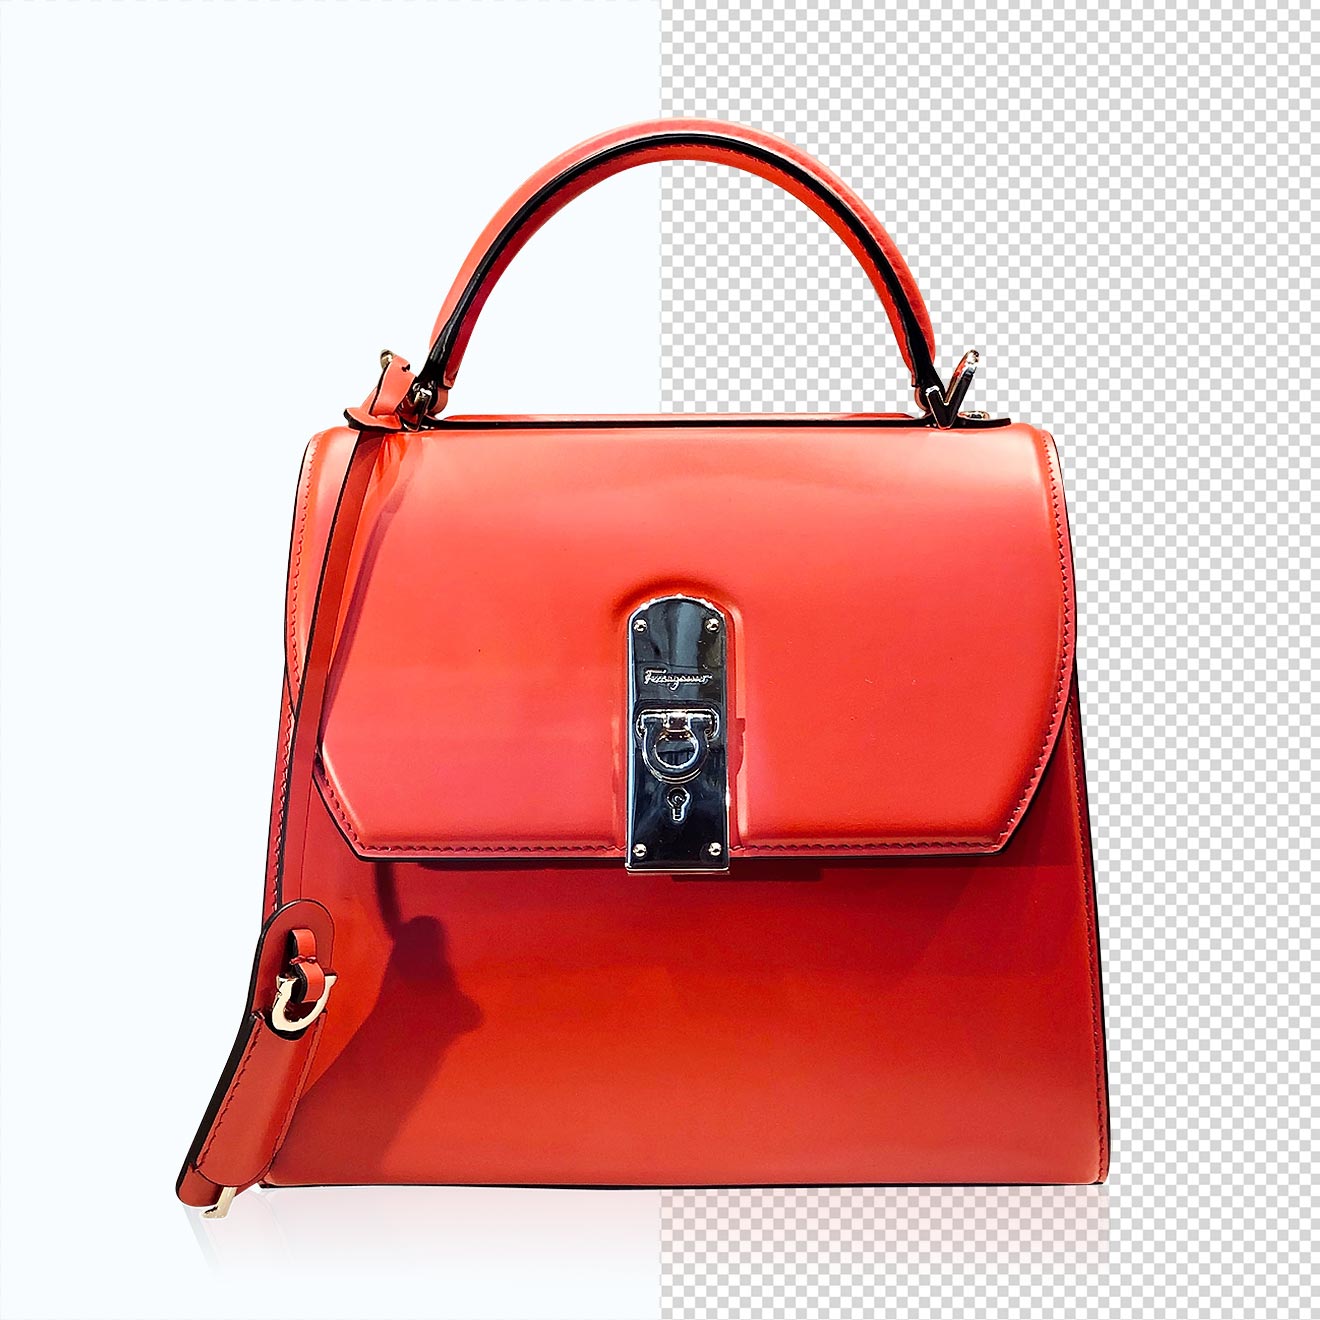
We can’t avoid a full image for a single mistake. We can improve the dull or not good image by using color path service.
We only select the dull object by creating a hand-made clipping path on the object area & make it improve by selecting the object & putting some brightness, (To get brighter photos, adjust the brightness! To find this tool, go to Image > Adjustments> Brightness/Contrast. Then, drag the “brightness” scale a little to the right until you like the outcome. You can also adjust the contrast if need be) sharpen, and some other treatment.